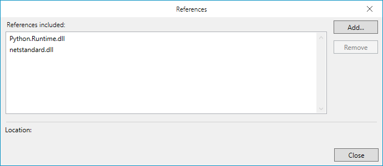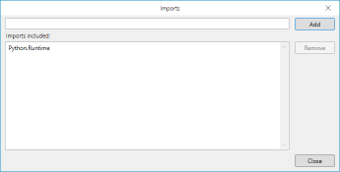

There are many different types of testing associated with software development and the development of calculations for financial models. Unit testing, functional testing, regression testing, integration testing and performance testing are some of the most common. Testing should always be carried out before a new version is deployed to users.
Unit testing involves testing individual units of a financial model in isolation. In the case of Mo.net models, these units would usually be individual functions. Unit tests verify that each function produces the expected results for a defined set of inputs.
This is particularly useful when developing or modifying models, as unit tests can help identify calculation errors early and provide confidence that existing functionality continues to behave as expected after changes are made.
Prior to Mo.net 7.8, functionality was already available for creating unit tests in the External Component area. Mo.net 7.8 now also includes functionality that makes it easy to write and execute unit tests for any function you wish to test.
Creating a unit test
I will run through an example using a function that is already present in one of our sample projects. The project is ConventionalModelProject, which can be found in the backstage area under New and Installed.
The top model, Disc_CF_Model contains a function that calculates the policy year. We are going to write a unit test to check the boundary points-in particular, when the policy year should change from 1 to 2.
The code for the Pol_Year function looks like this:

This means that when t = 0, Pol_Year is equal to 0. From t = 1 to t = 12, Pol_Year should equal 1, and from t = 13 to t = 24, it should equal 2.
Boundary testing
When writing unit tests, it is particularly useful to test values at and around boundaries where the expected result changes. Errors are often more likely to occur at these transition points-for example, because of an incorrect comparison operator or an off-by-one error.
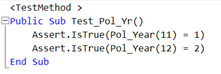
In this example, the important boundary is between t = 12 and t = 13, where Pol_Year changes from 1 to 2. Testing values on either side of this boundary confirms that t = 12 is still assigned to policy year 1 and that t = 13 is correctly assigned to policy year 2. It is also useful to test other boundaries, such as t = 0 and t = 1, rather than testing only values in the middle of a range.
Thinking about boundaries in this way can help when creating unit tests for other model functions. Wherever a calculation changes behaviour at a particular value, consider testing the value immediately before the boundary, the boundary itself and the value immediately after it.
We add a new function called Pol_Year_UT. To check that the boundary values are calculated correctly, we use the following code:
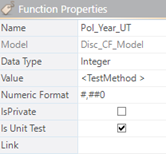
We also need to ensure that the Is Unit Test function property is selected:
Running the unit test
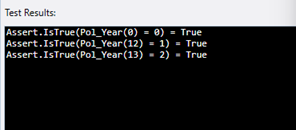
We can now run our unit test by clicking the Run Test button on the Function menu bar:

The results are displayed in the box below the code:
Running multiple unit tests
If a project contains multiple unit tests, they can all be run from the command line. To do this, use the /rununittests switch with the Model Development Studio executable and point it to the project for which you want to run the unit tests.
The results are then sent to the console, as shown below:
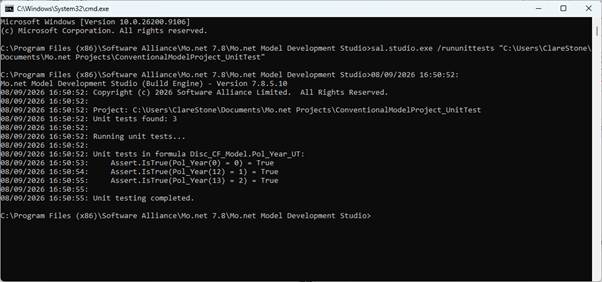
This provides a convenient way to run a project’s unit tests together, helping to confirm that calculations continue to produce the expected results as the model is developed and changed.
Conculsion
Unit testing provides a simple but effective way to check that individual model functions are producing the expected results. By creating tests as functions are developed, and focusing particularly on boundary conditions and other key calculation points, potential issues can be identified early and changes can be made with greater confidence. The unit testing functionality in Mo.net 7.8 makes it easier to incorporate these checks into the model development process and to rerun them whenever a model is changed.